So you’ve bought one of our Canva mockup templates. Excellent taste. This guide walks you through everything, from the moment your Etsy download lands to the moment your design is sitting on that phone looking far more expensive than it has any right to.
It takes about five minutes. Ten if you stop for coffee, which we encourage. (Grace makes the coffee. Adam wrote the instructions, so they are very thorough.)
What you’ll need
A free Canva account. Canva Pro is lovely, but you don’t need it for this.
Your design, saved as a JPG or PNG. For our phone mockups, a portrait image works best (around 1320 x 2868 px, but close enough is fine).
A computer. You can use the Canva app on a phone or tablet, but the buttons move around a bit, so we’ve written this for a laptop or desktop.
Step 1: Download your PDF from Etsy
After you buy, Etsy will send you an email with a download link. You can also find it any time by going to Etsy > You > Purchases and reviews, then clicking Download files next to your order.
Your download is a small PDF. It’s not the mockup itself, it’s the key to it.
Step 2: Open the PDF and click your template link
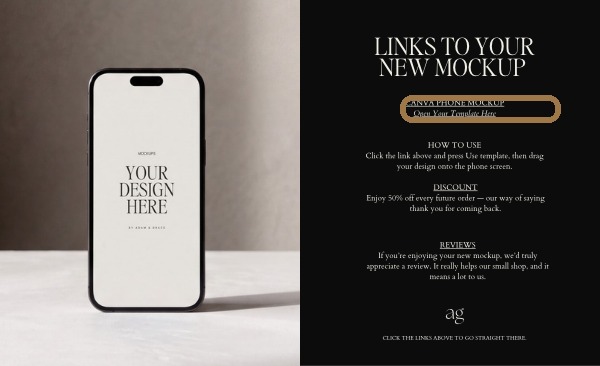
Open the PDF and click Open Your Template Here. That’s the link with the name of your mockup above it.
Step 3: Click “Use template”
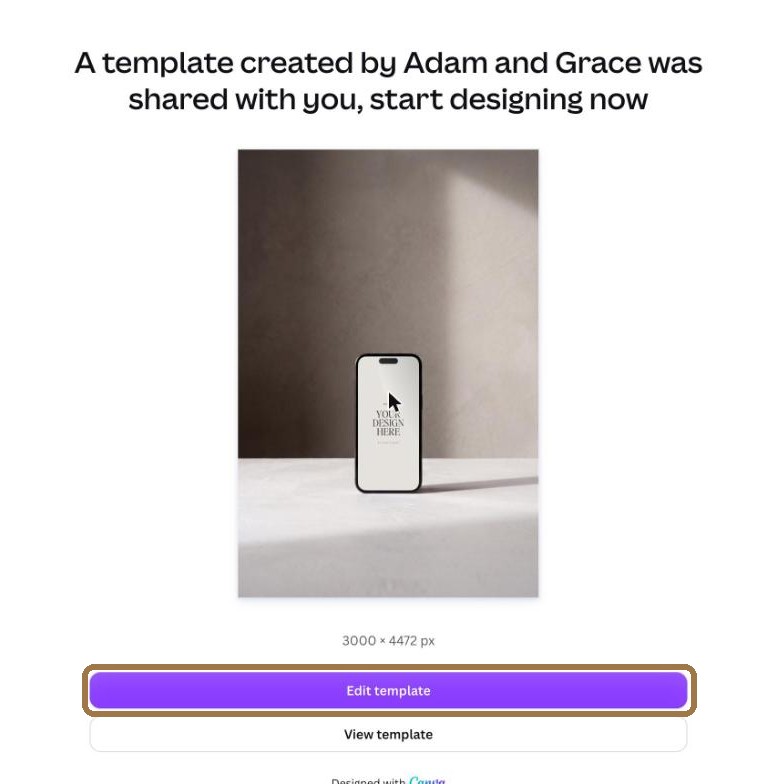
The link opens a Canva page that says a template has been shared with you. Click the purple button. Depending on whether you’re signed in, it will say Use template or Edit template. They do the same thing.
If Canva asks you to sign in or create a free account, do that first. It takes a minute and Canva won’t charge you for it.
On a phone you might only see a View template button until you sign in. If that happens, sign in (or open the link on a computer) and the purple button will appear.
Canva now makes your own copy of the template. It’s yours to keep and edit as often as you like, and nothing you do changes anyone else’s copy. (We checked. Twice.)
Step 4: Your template opens
Here it is. The phone screen will either be blank and black, ready for your design or have a placeholder image stating something like ‘your design here’. (There’s also a quick start page underneath. You can delete it once you’re done.)
Step 5: Upload your design
Click Uploads in the menu on the left, then click Upload files and choose your design from your computer. It will appear in your uploads after a few seconds.
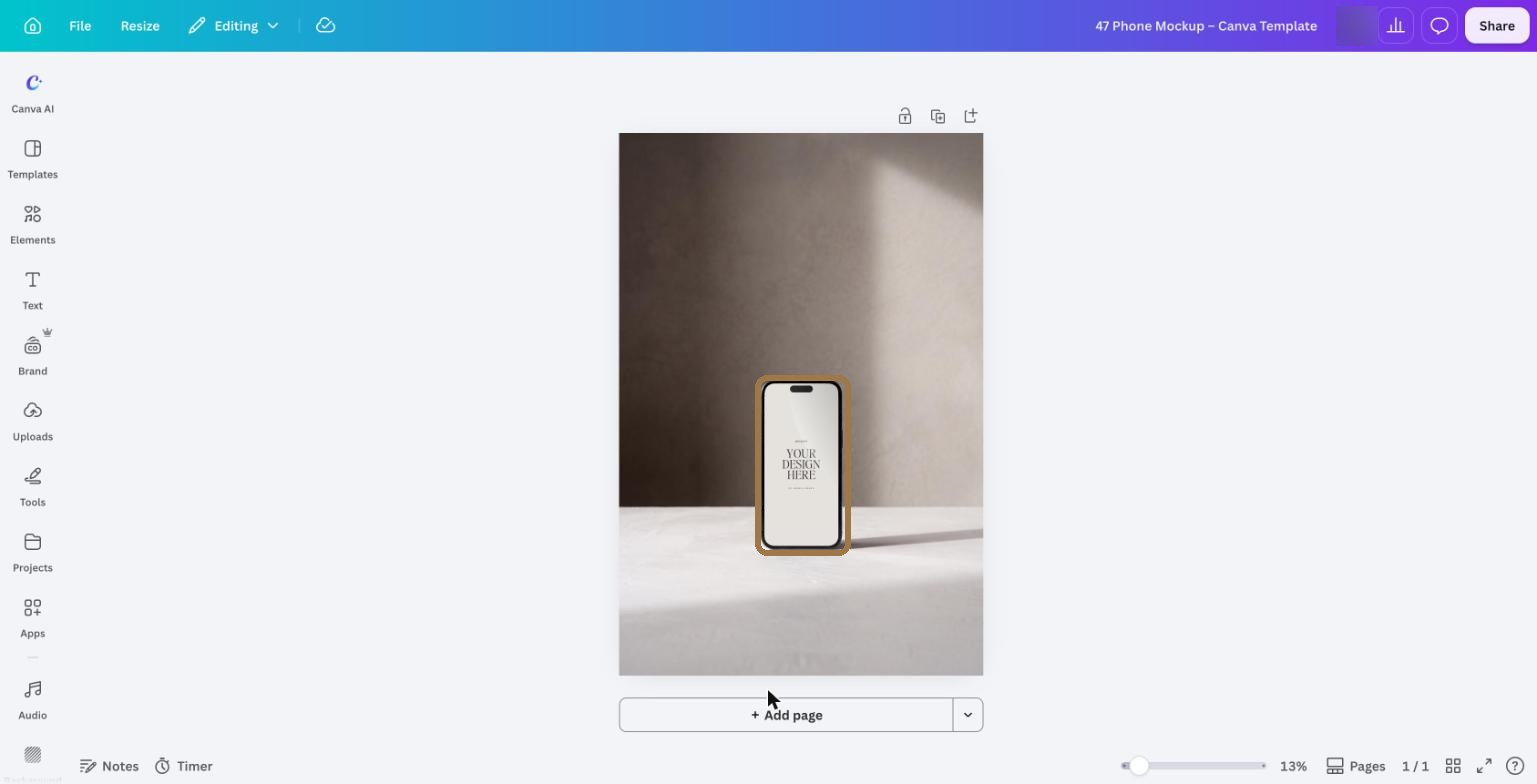
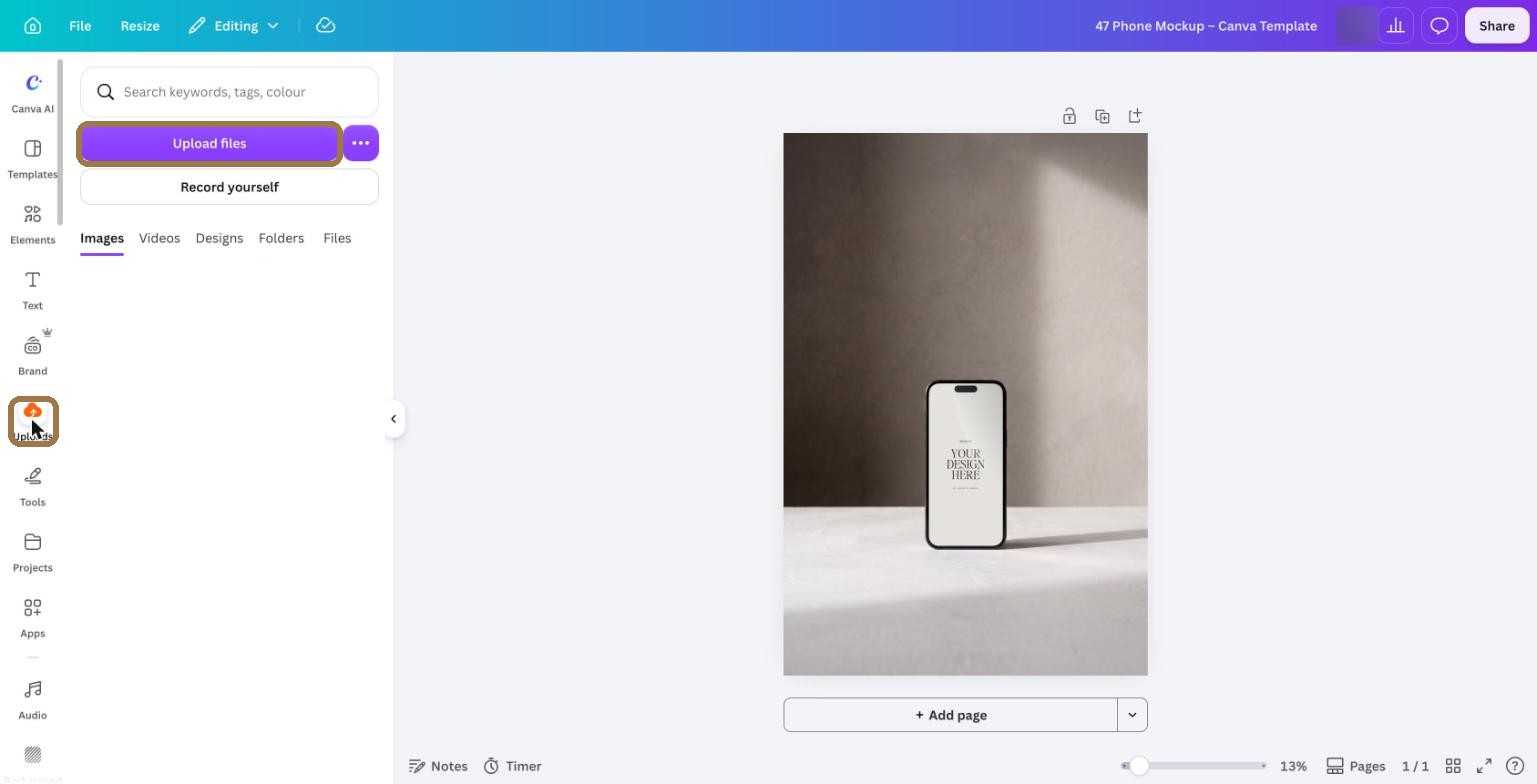
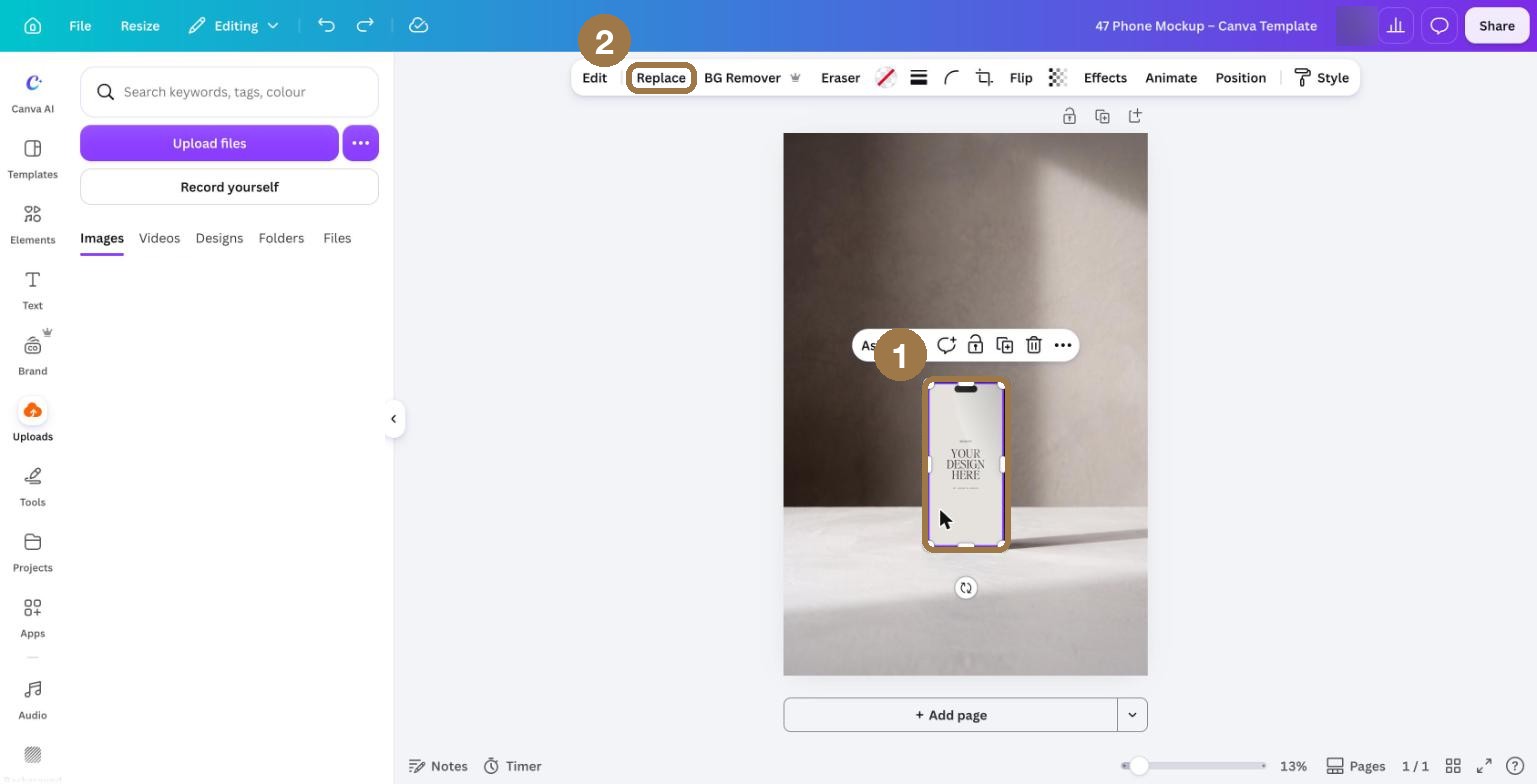
Step 6: Click the phone screen, then click “Replace”
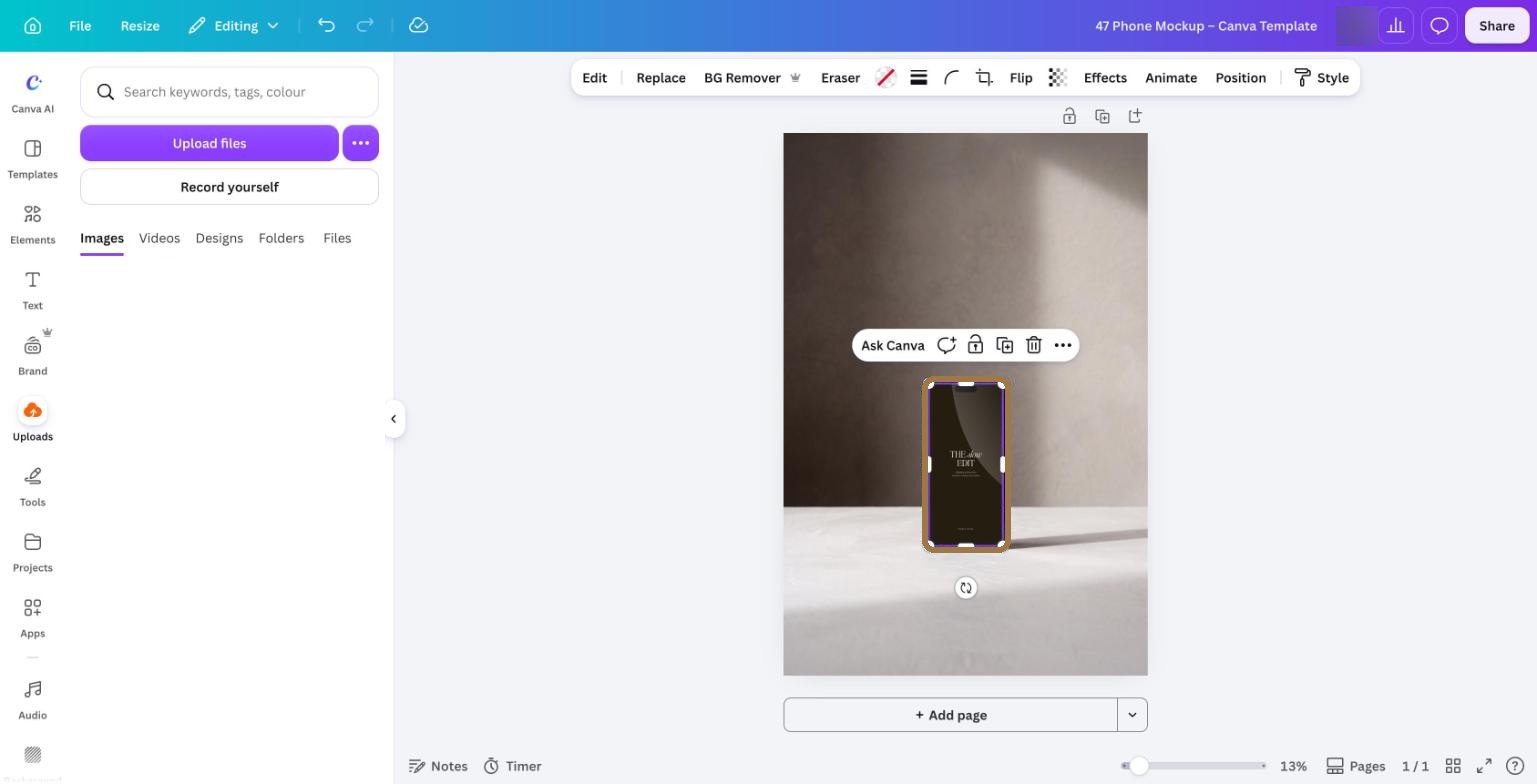
Click once on the lower half of the phone screen so the screen is selected (you’ll see a purple outline around it). Then click Replace in the toolbar at the top.
Why the lower half? The optional screen glare sits over the top right of the screen, and clicking there selects the glare instead. The lower half always gets you the screen.
Step 7: Choose your design
The Replace panel opens on the left with your uploads. Click your design.
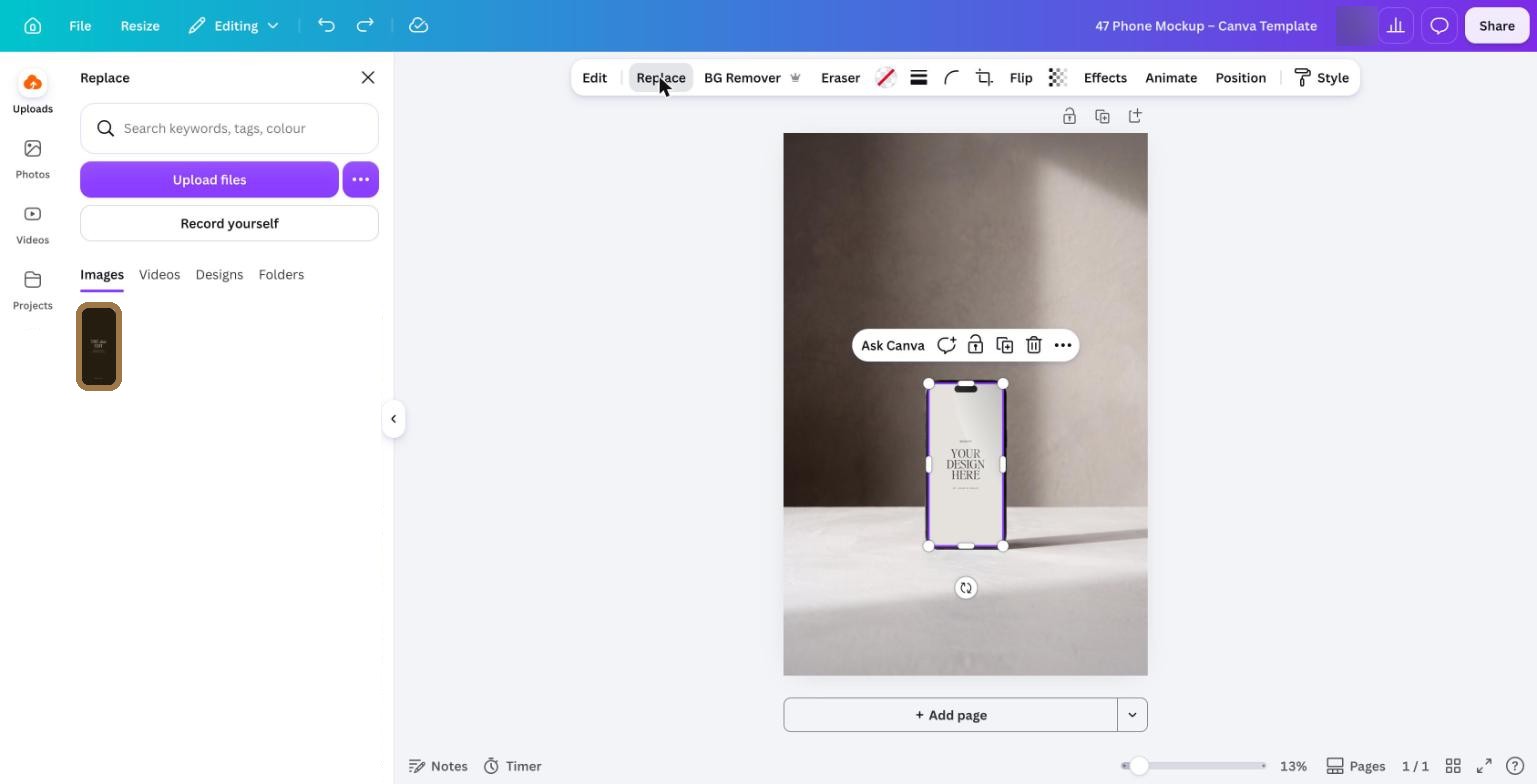
Step 8: Your design is on the screen
That’s it. Your design now fills the phone screen, and it sits neatly behind the phone’s edges and camera.
Want to move or resize it? Double-click the screen. You can then drag your design around inside the screen, or pull the corners to make it bigger or smaller. Click anywhere outside the phone when you’re happy.
Prefer to drag and drop? You can drag your design from Uploads straight onto the phone screen. Just drop it on the lower half of the screen, for the same reason as above. If you drop it on the top right and the glare disappears, press Ctrl+Z (Windows) or Cmd+Z (Mac) to undo, then try again lower down.
Step 9: Keep, soften or remove the screen glare
The soft glare across the top of the screen is there to make it look like real glass in real light. It’s completely optional.
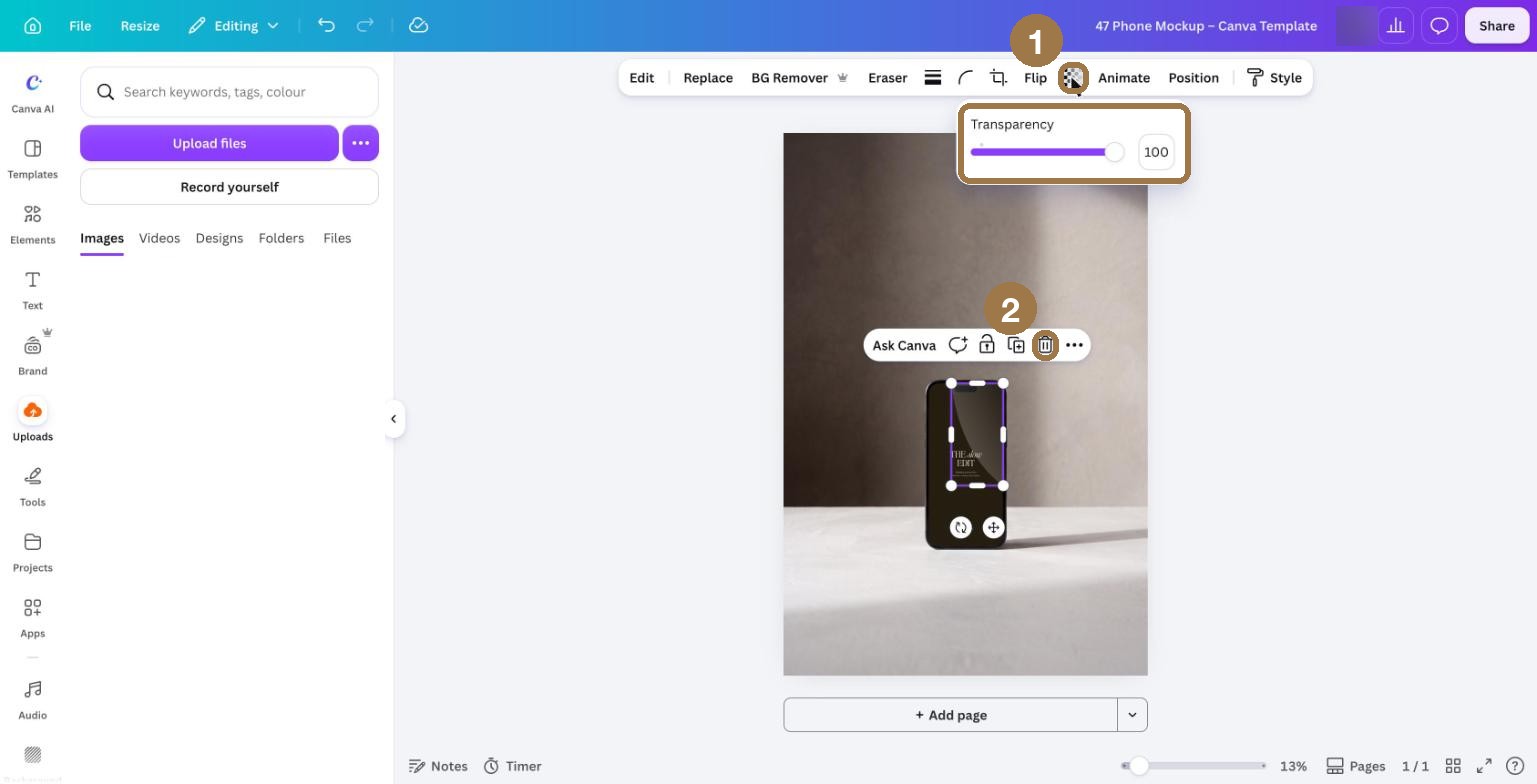
To change it, click the top right of the screen to select the glare. Then:
Click the transparency button (the little chequered square) in the top toolbar and drag the slider to make it softer.
Or click the bin icon to remove it completely.
Step 10: Download your finished mockup
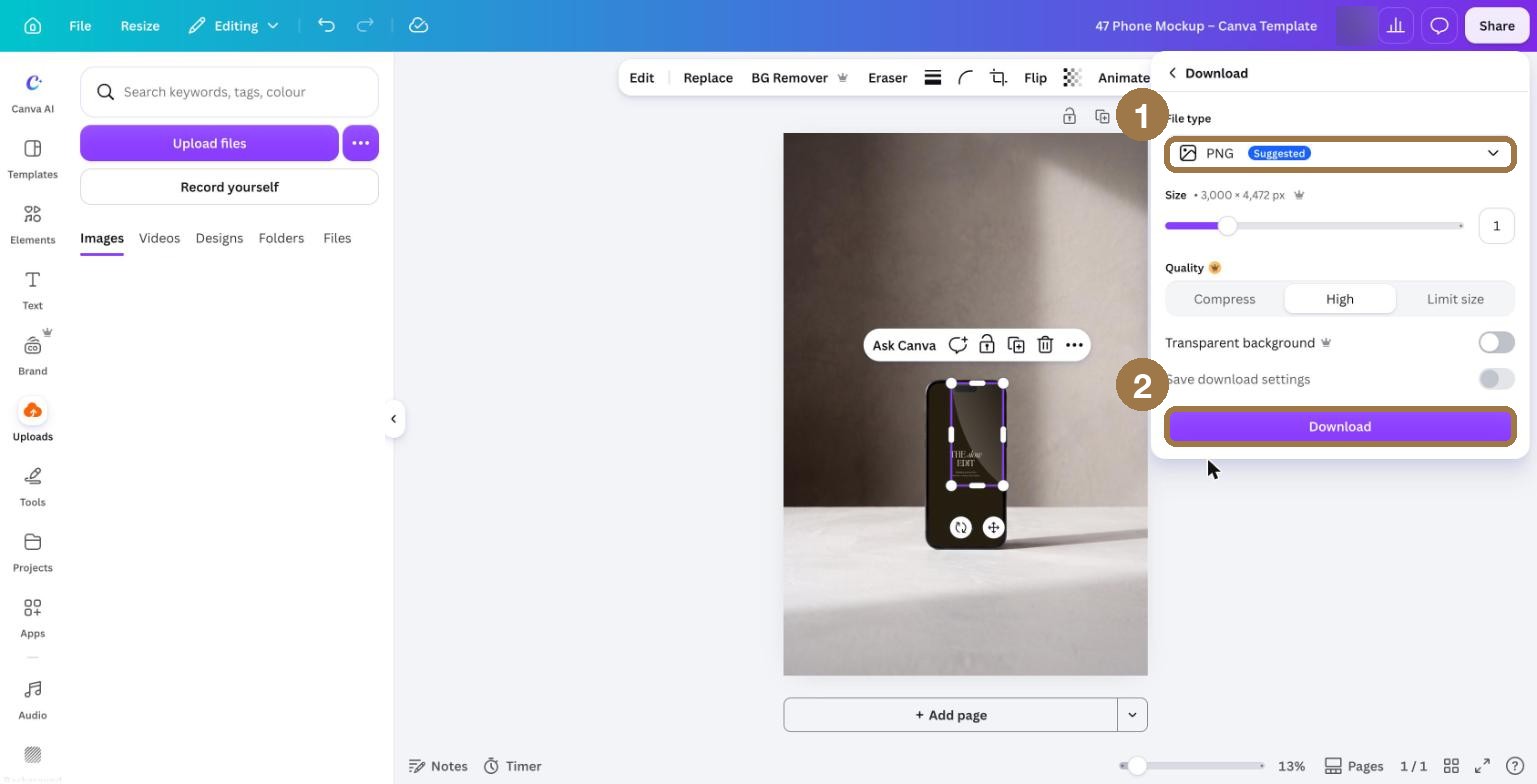
Click Share in the top right corner, then Download. Choose PNG for the sharpest result (JPG is fine too, and a little smaller), then click Download.
Your finished mockup will save to your computer, ready for your website, online shop, social media or client presentation.
A few helpful tips
Use a good quality design. The mockup can only be as sharp as the image you put in it. Export your design at full size before you upload it.
Keep logos and text away from the very edges. A tiny bit of the edge sits behind the phone’s frame, the same as a real screen.
Make as many as you like. Your copy of the template is yours. Use it again and again, or click File > Make a copy to keep different versions.
The scene can’t be recoloured. The background, lighting and phone are one carefully finished image, so they stay as they are. That’s what keeps them looking real.
Made a mistake? Ctrl+Z or Cmd+Z undoes almost anything in Canva. It has saved us more times than we’d like to admit.
Something not working?
Send us a message through Etsy and we’ll sort it out. We’re real people (two of them) and we reply quickly. Mostly Adam. Grace is usually holding a coffee.
Please kindly note; Our mockup scenes are created with AI tools and finished by hand in Photoshop. Designs shown are examples only and are not included.