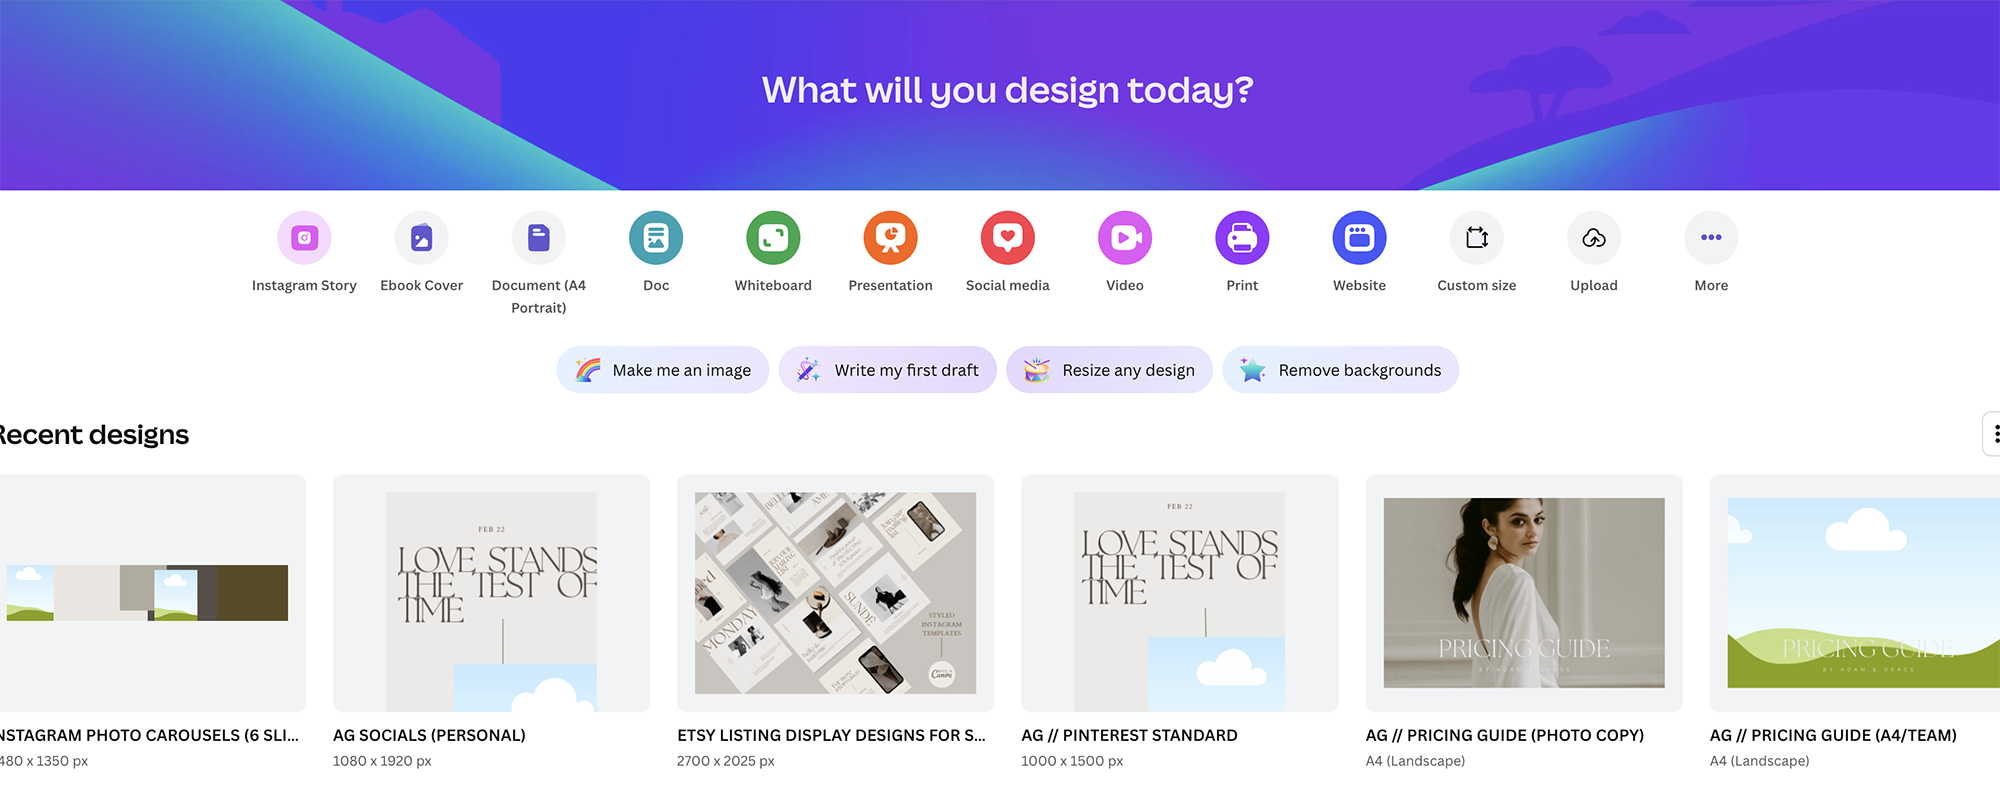
Canva is an incredibly user-friendly yet powerful design tool that allows you to customise templates quickly and easily—perfect for creating professional branding, social media graphics, pricing guides, and carousels.
If you’re using our Canva templates, it’s important to understand the essential tools and features that will help you edit and personalise your designs seamlessly. In this guide, we’ll walk you through the main tools you need to customise text, colours, images, layouts, and alignment to ensure your templates reflect your brand perfectly.
Why Mastering Canva’s Tools is Important
By learning Canva’s essential tools, you’ll be able to:
✅ Customise your templates with ease – No need to start from scratch!
✅ Maintain a professional and cohesive brand – Ensure consistency in every design.
✅ Save time – Quickly update designs without struggling with formatting issues.
✅ Enhance your creativity – Use grids, layers, and alignment tools to refine your layout.
Let’s dive into the essential Canva tools you need to customise any template effortlessly.
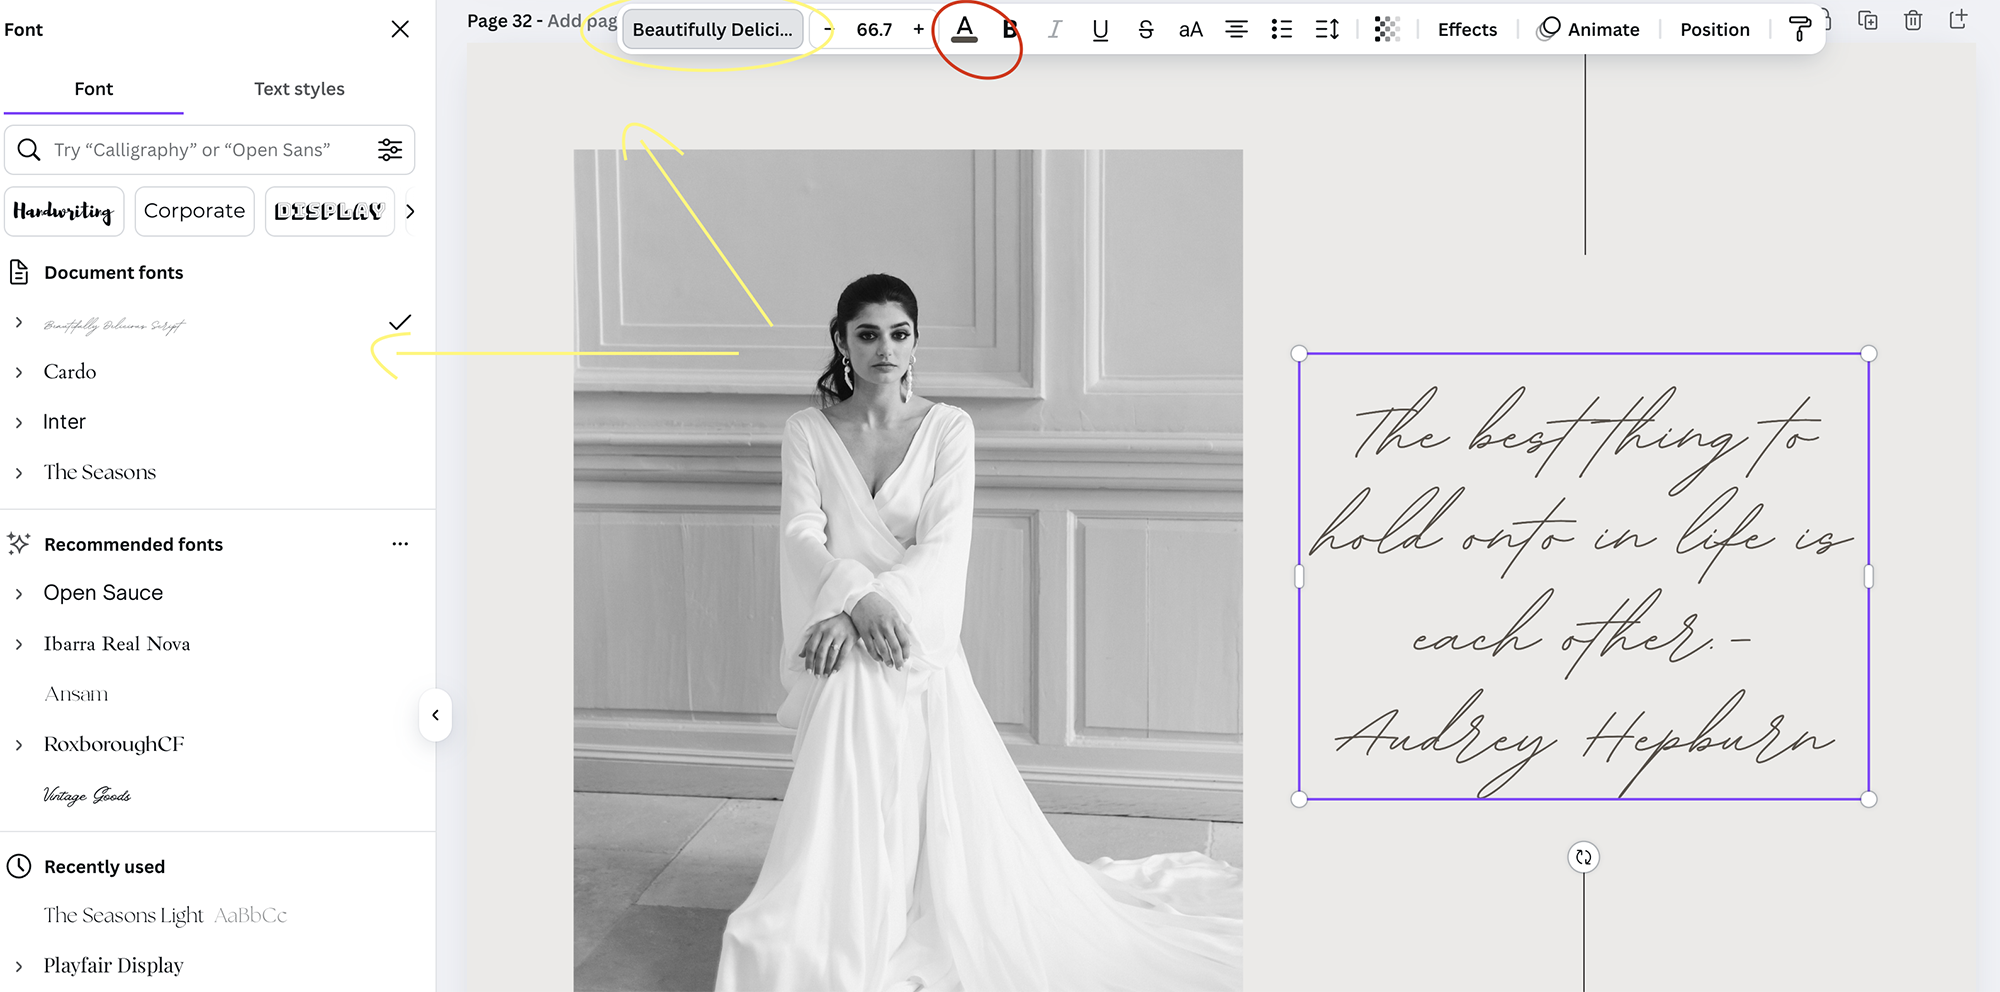
Step 1: Editing Text with Canva’s Text Tools
Text is a key component in any design, whether it’s a logo, a pricing guide, or a social media post. Canva’s text tools allow you to adjust fonts, size, spacing, and effects with ease.
📌 How to Edit Text in Canva:
🔤 Click on the text box you want to edit and type in your content.
🔤 Use the font dropdown in the top toolbar to choose from thousands of fonts.
🔤 Adjust size, spacing, and alignment for readability.
🔤 Apply text effects like shadow, outline, or curve for a unique look.
💡 Pro Tip: Stick to 2-3 fonts per design to keep it clean and professional. If you’re using our templates, we’ve already paired beautiful font combinations to make branding easy!
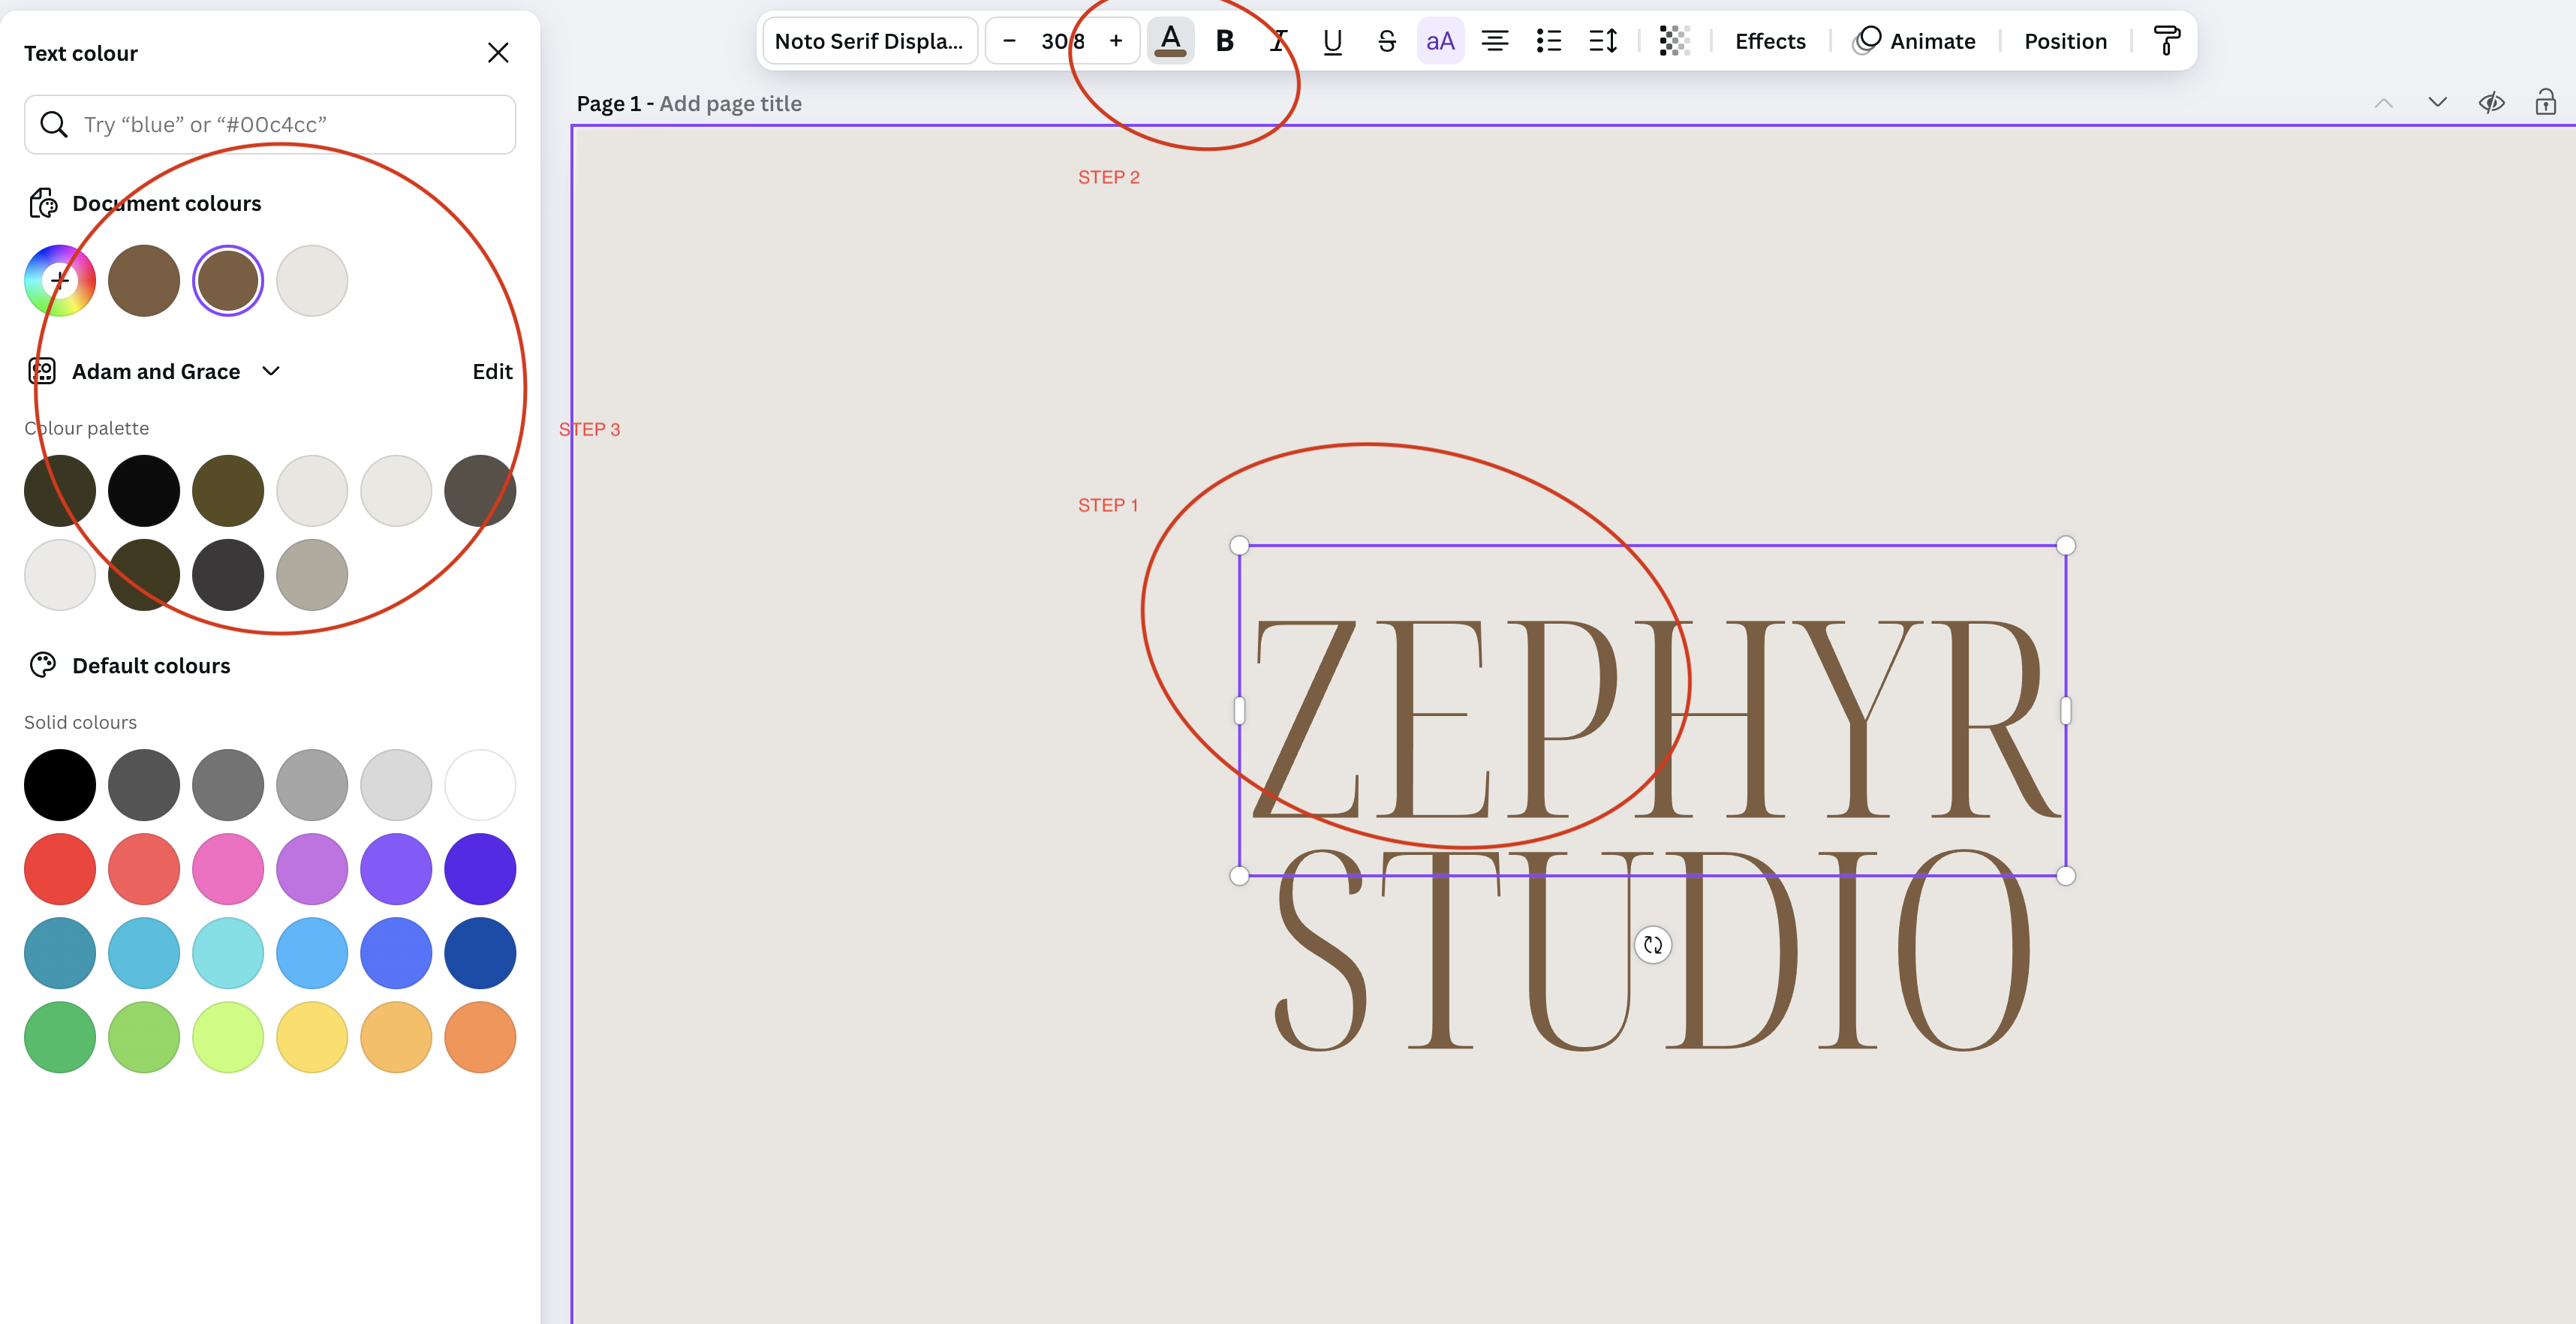
Step 2: Customising Colours & Using Brand Kits
One of the quickest ways to make a template match your brand is by updating the colours. If you have brand colours, applying them consistently across all designs helps with brand recognition and professionalism.
📌 How to Change Colours in Canva:
🎨 Click on any element – text, shapes, or backgrounds (Step 1 in image below)
🎨 Use the colour picker in the toolbar to choose a new colour (Step 3 in image below)
🎨 If using Canva Pro, apply your Brand Kit to update all colours instantly.
📌 How to Use the Brand Kit (Canva Pro Feature)
📌 Upload your brand fonts, logos, and colour palette for quick access.
📌 Apply brand colours in one click to maintain consistency.
📌 Use pre-saved brand fonts across all designs.
💡 Pro Tip: If you don’t have a brand colour palette, use Canva’s colour suggestions or tools like Coolors.co to find colour combinations that work well together.
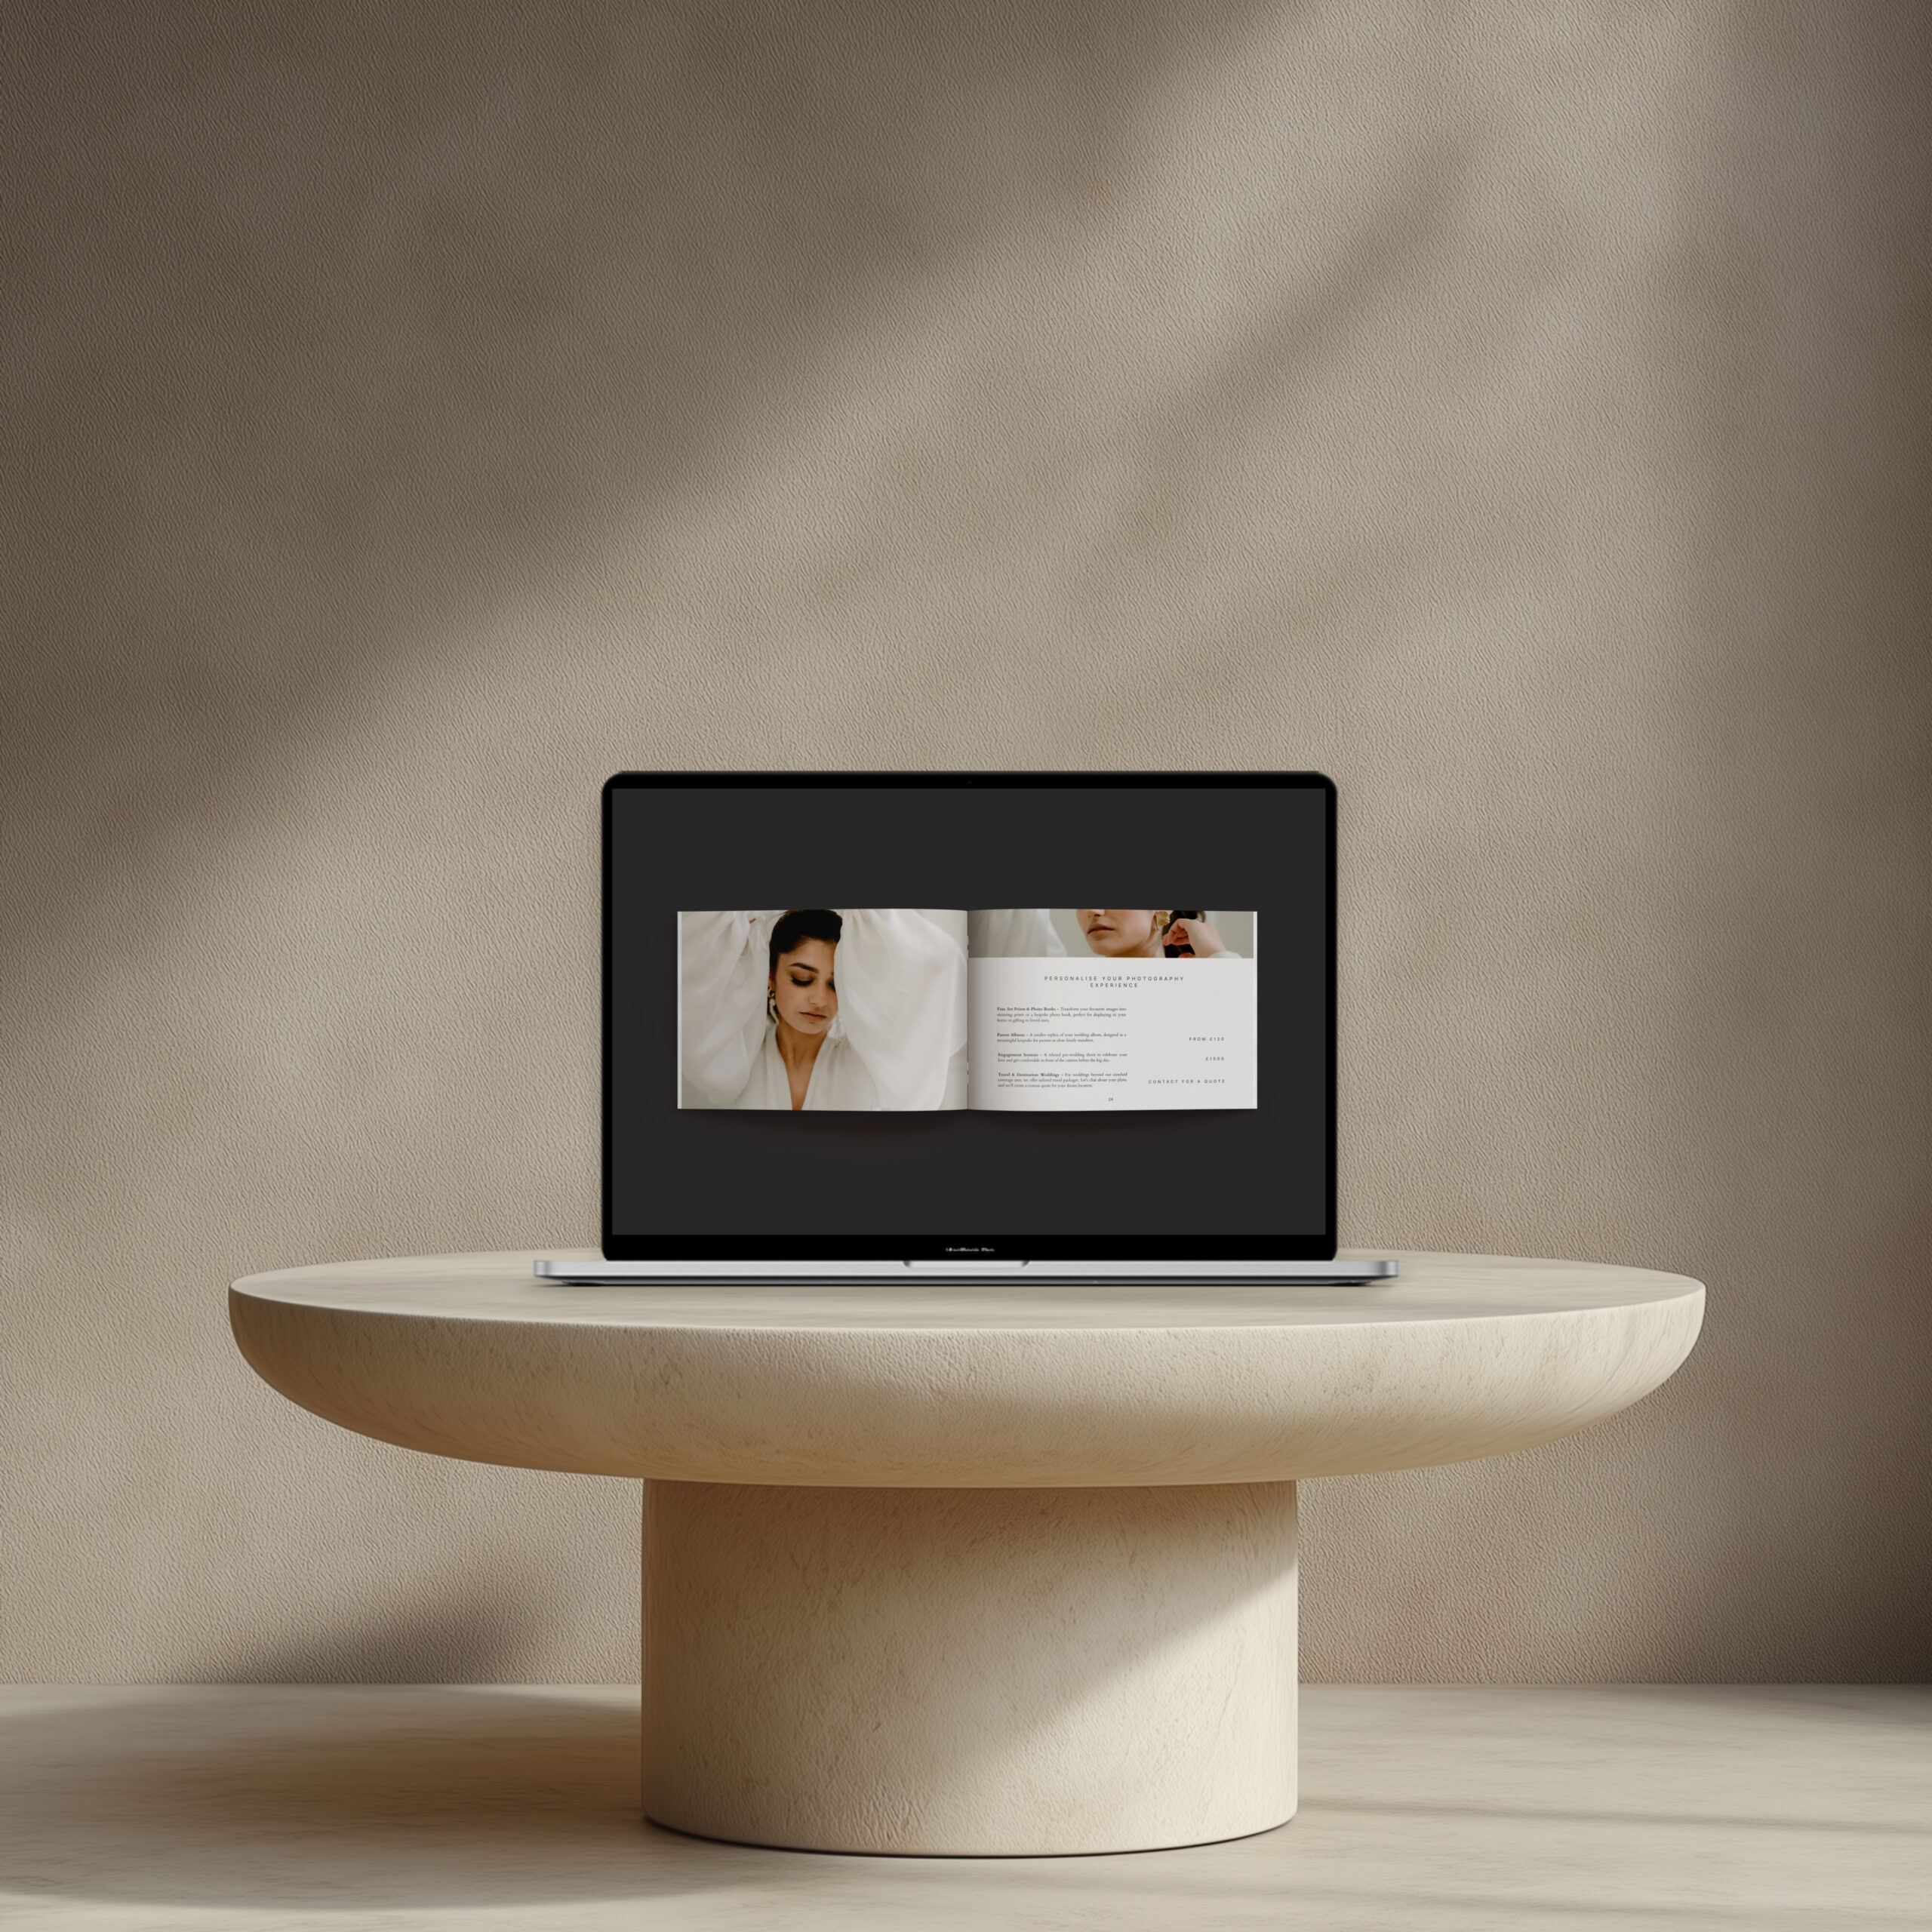
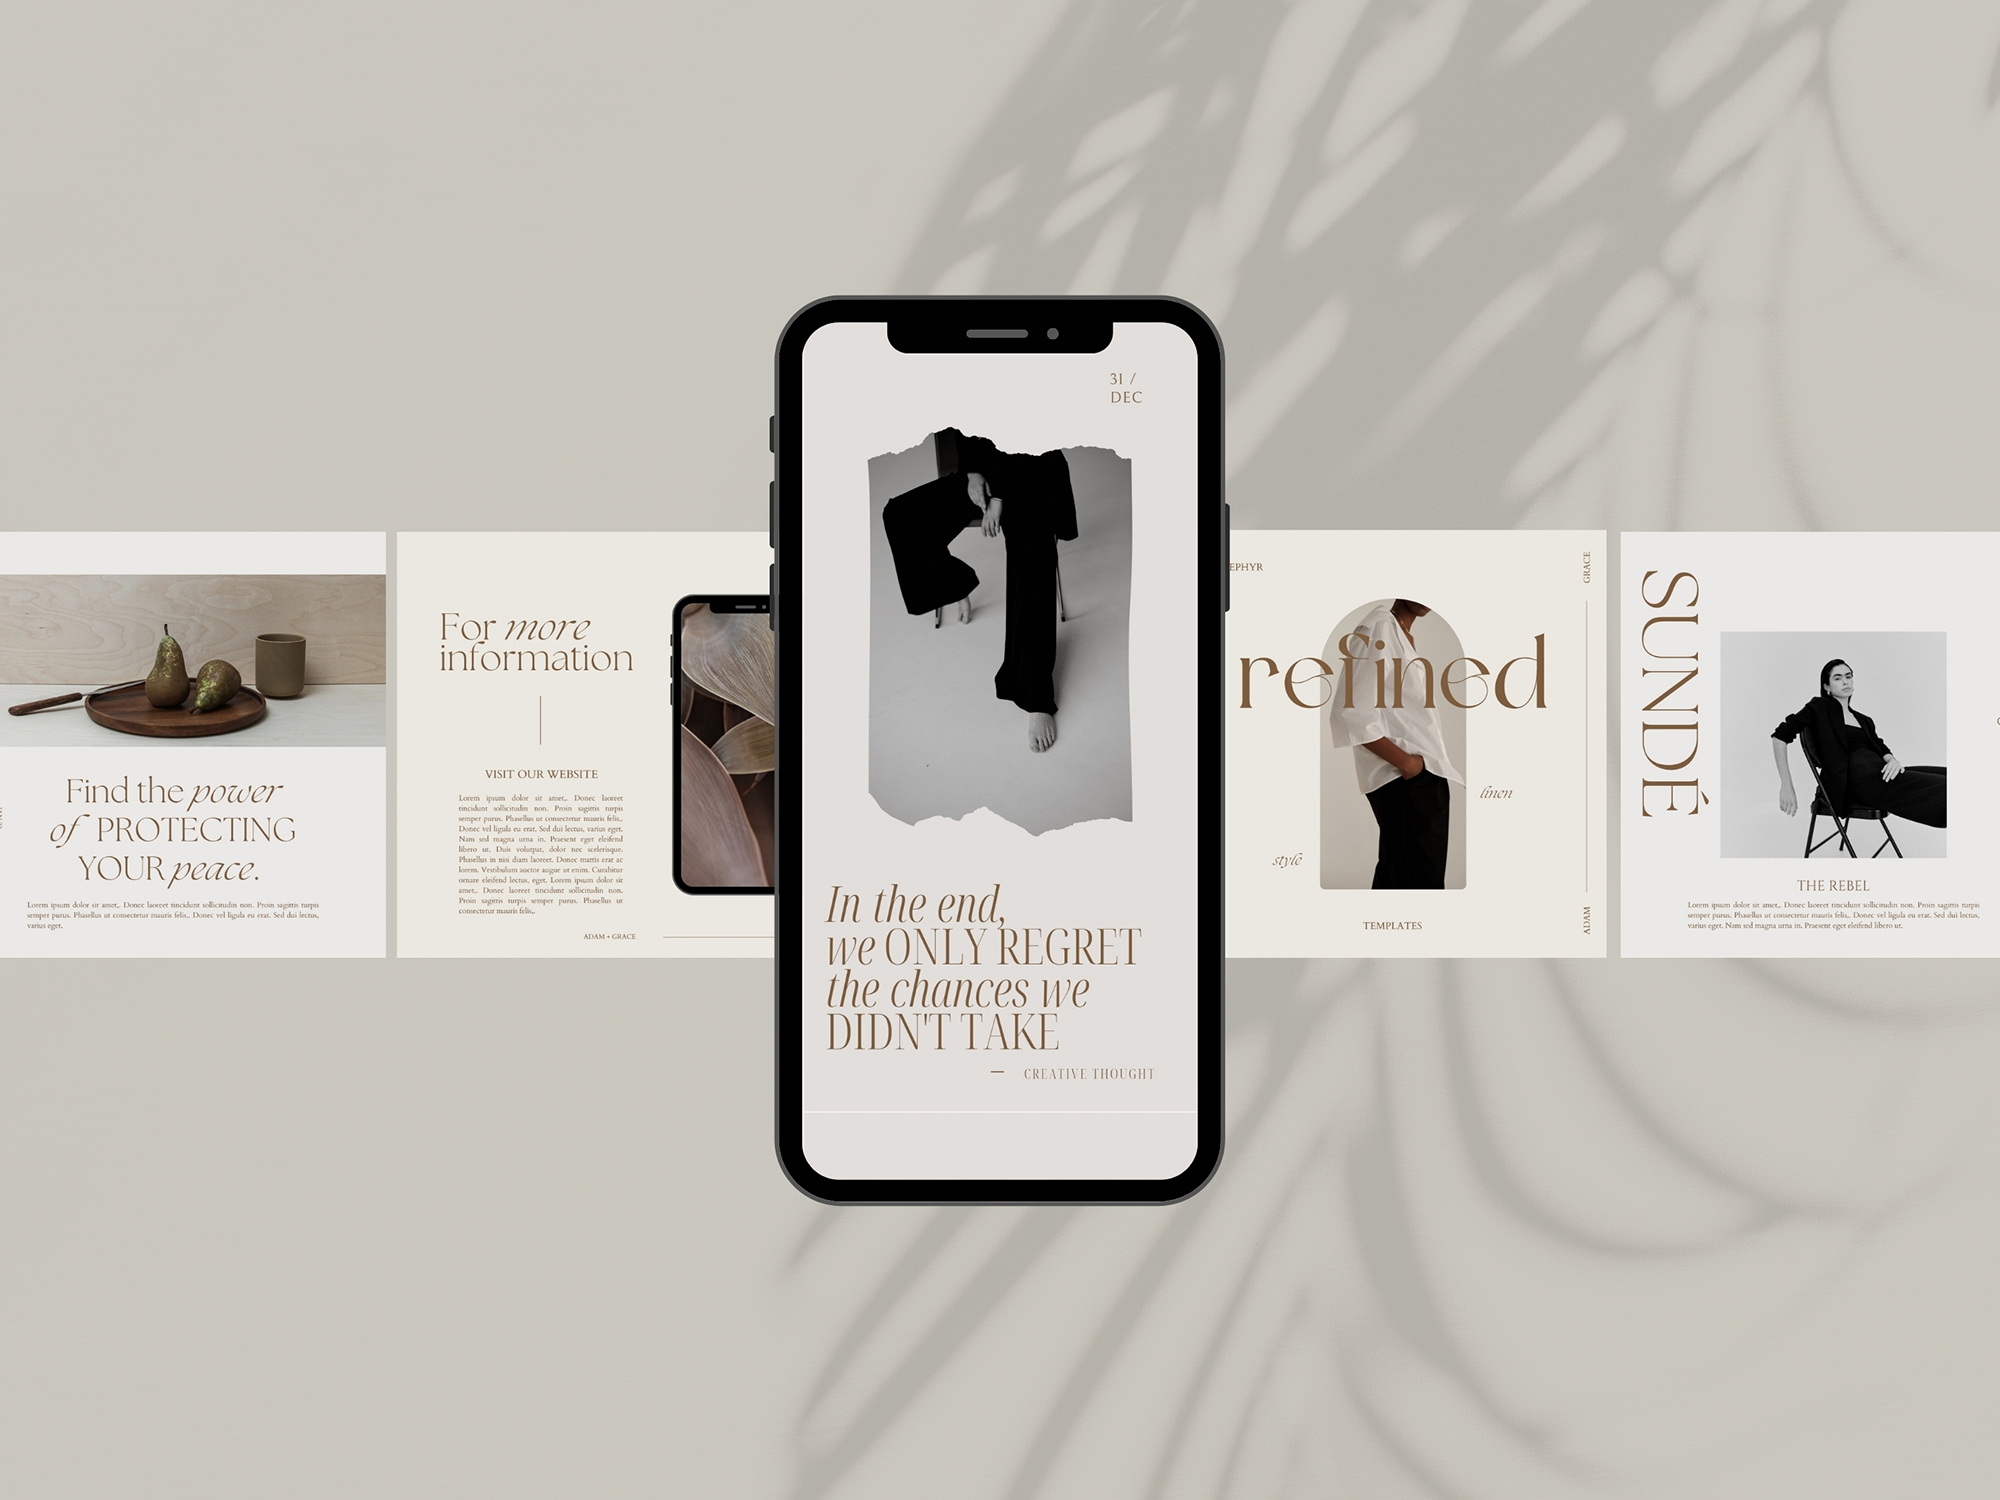
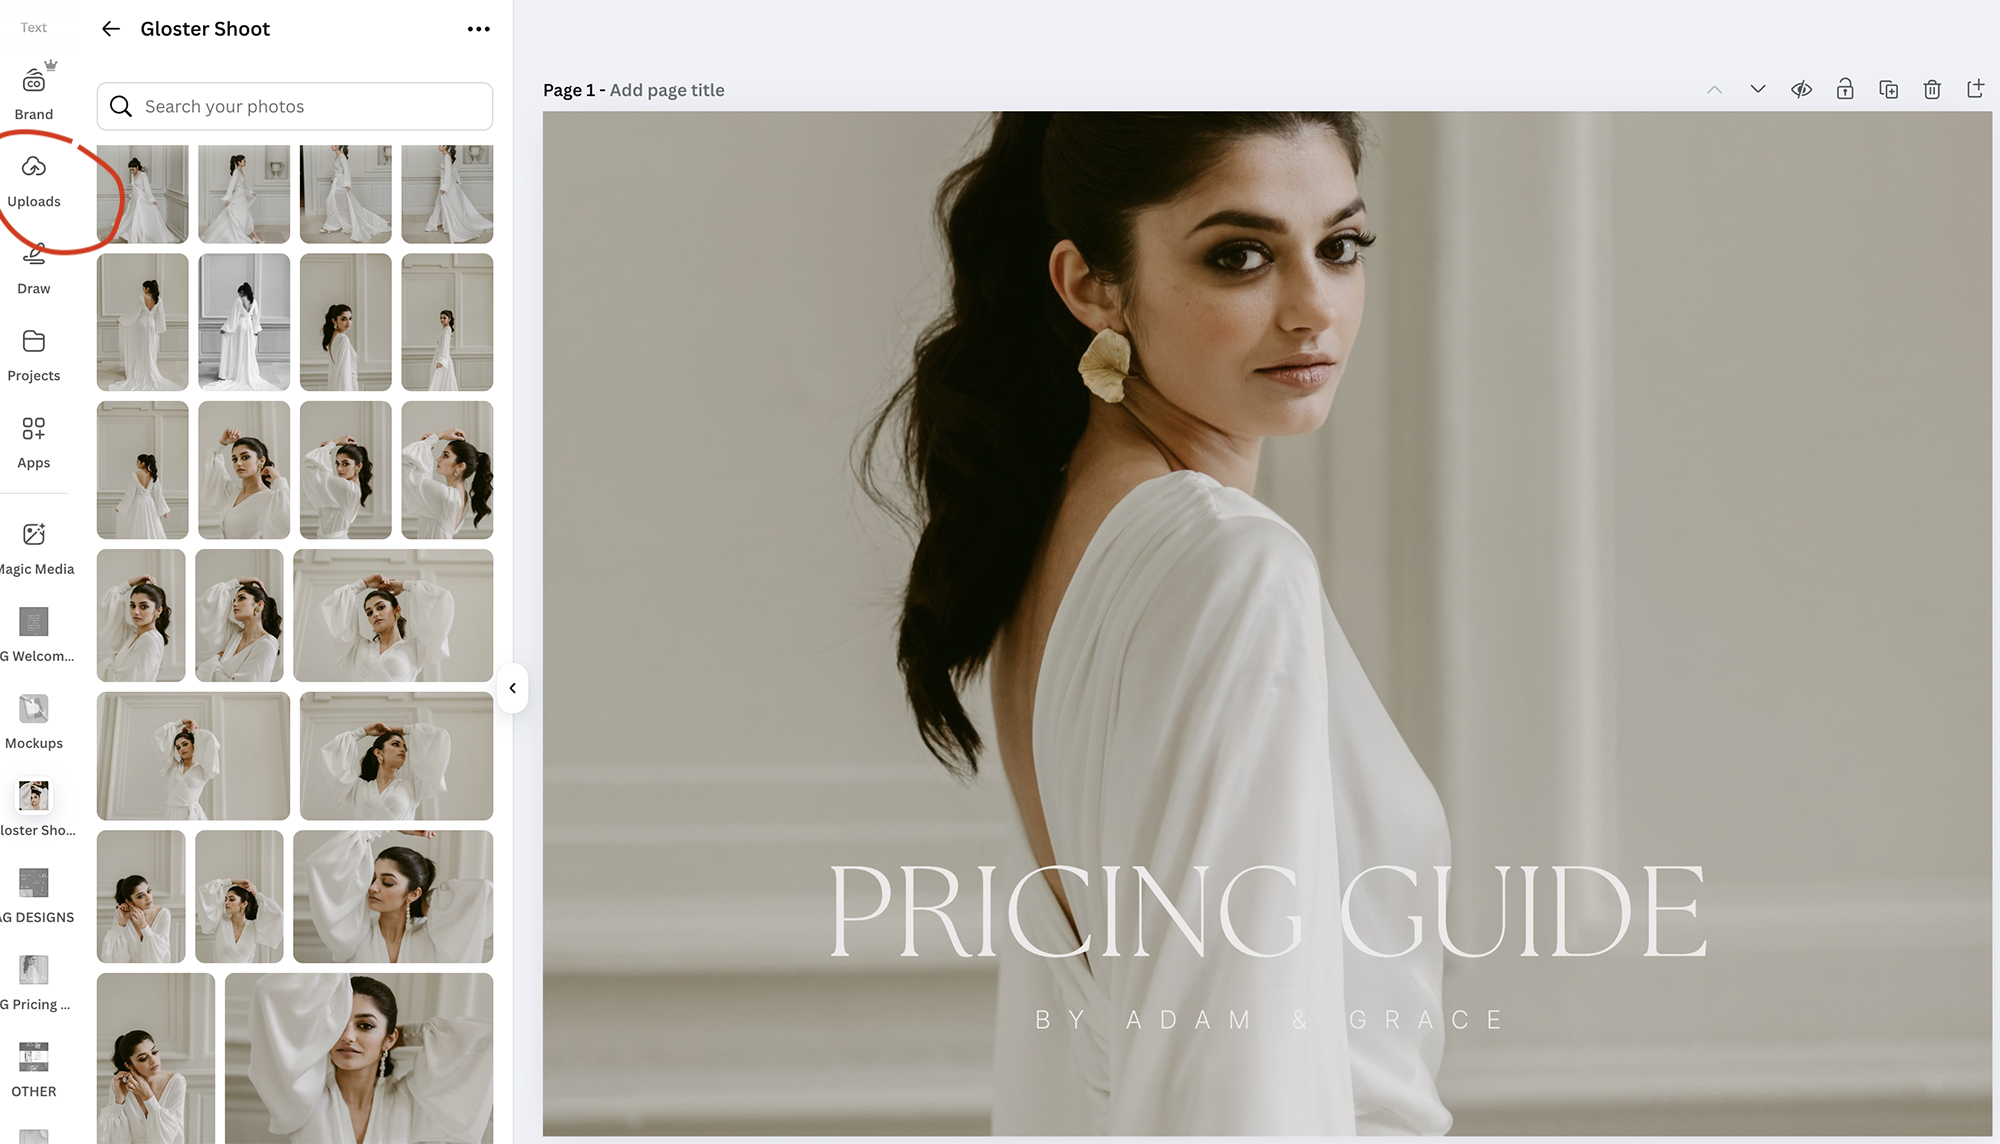
Step 3: Uploading & Replacing Images in Canva
Canva makes it super easy to replace placeholder images with your own photos. This is essential for making templates personalised and unique.
📌 How to Replace Images in Canva:
🖼 Click on an image you want to replace.
🖼 Click ‘Uploads’ on the left panel and upload your own images.
🖼 Drag and drop your image into the placeholder—it will automatically resize.
💡 Pro Tip: If you’re designing photo-based content (like carousels), ensure your images follow a similar editing style for a cohesive look.
Step 4: Using Grids, Layers & Alignment Tools for Perfect Layouts
Proper alignment is essential for professional-looking designs. Canva’s grids, layers, and alignment tools help you structure layouts effectively.
📌 How to Use Grids in Canva:
📌 Click ‘Elements’ > ‘Grids’ to structure your layout easily.
📌 Choose from single or multi-photo grids for carousels or collages.
📌 Drag and drop images into grid sections for auto-cropping.
📌 How to Use Layers & Alignment Tools:
📌 Layers: Move objects forward or backward to arrange overlapping elements.
📌 Position Tool: Align text and images precisely within your design.
📌 Group Tool: Select multiple elements and group them together for easier movement and resizing.
💡 Pro Tip: Using the Snap-to-Grid feature ensures elements stay evenly spaced for a professional look.

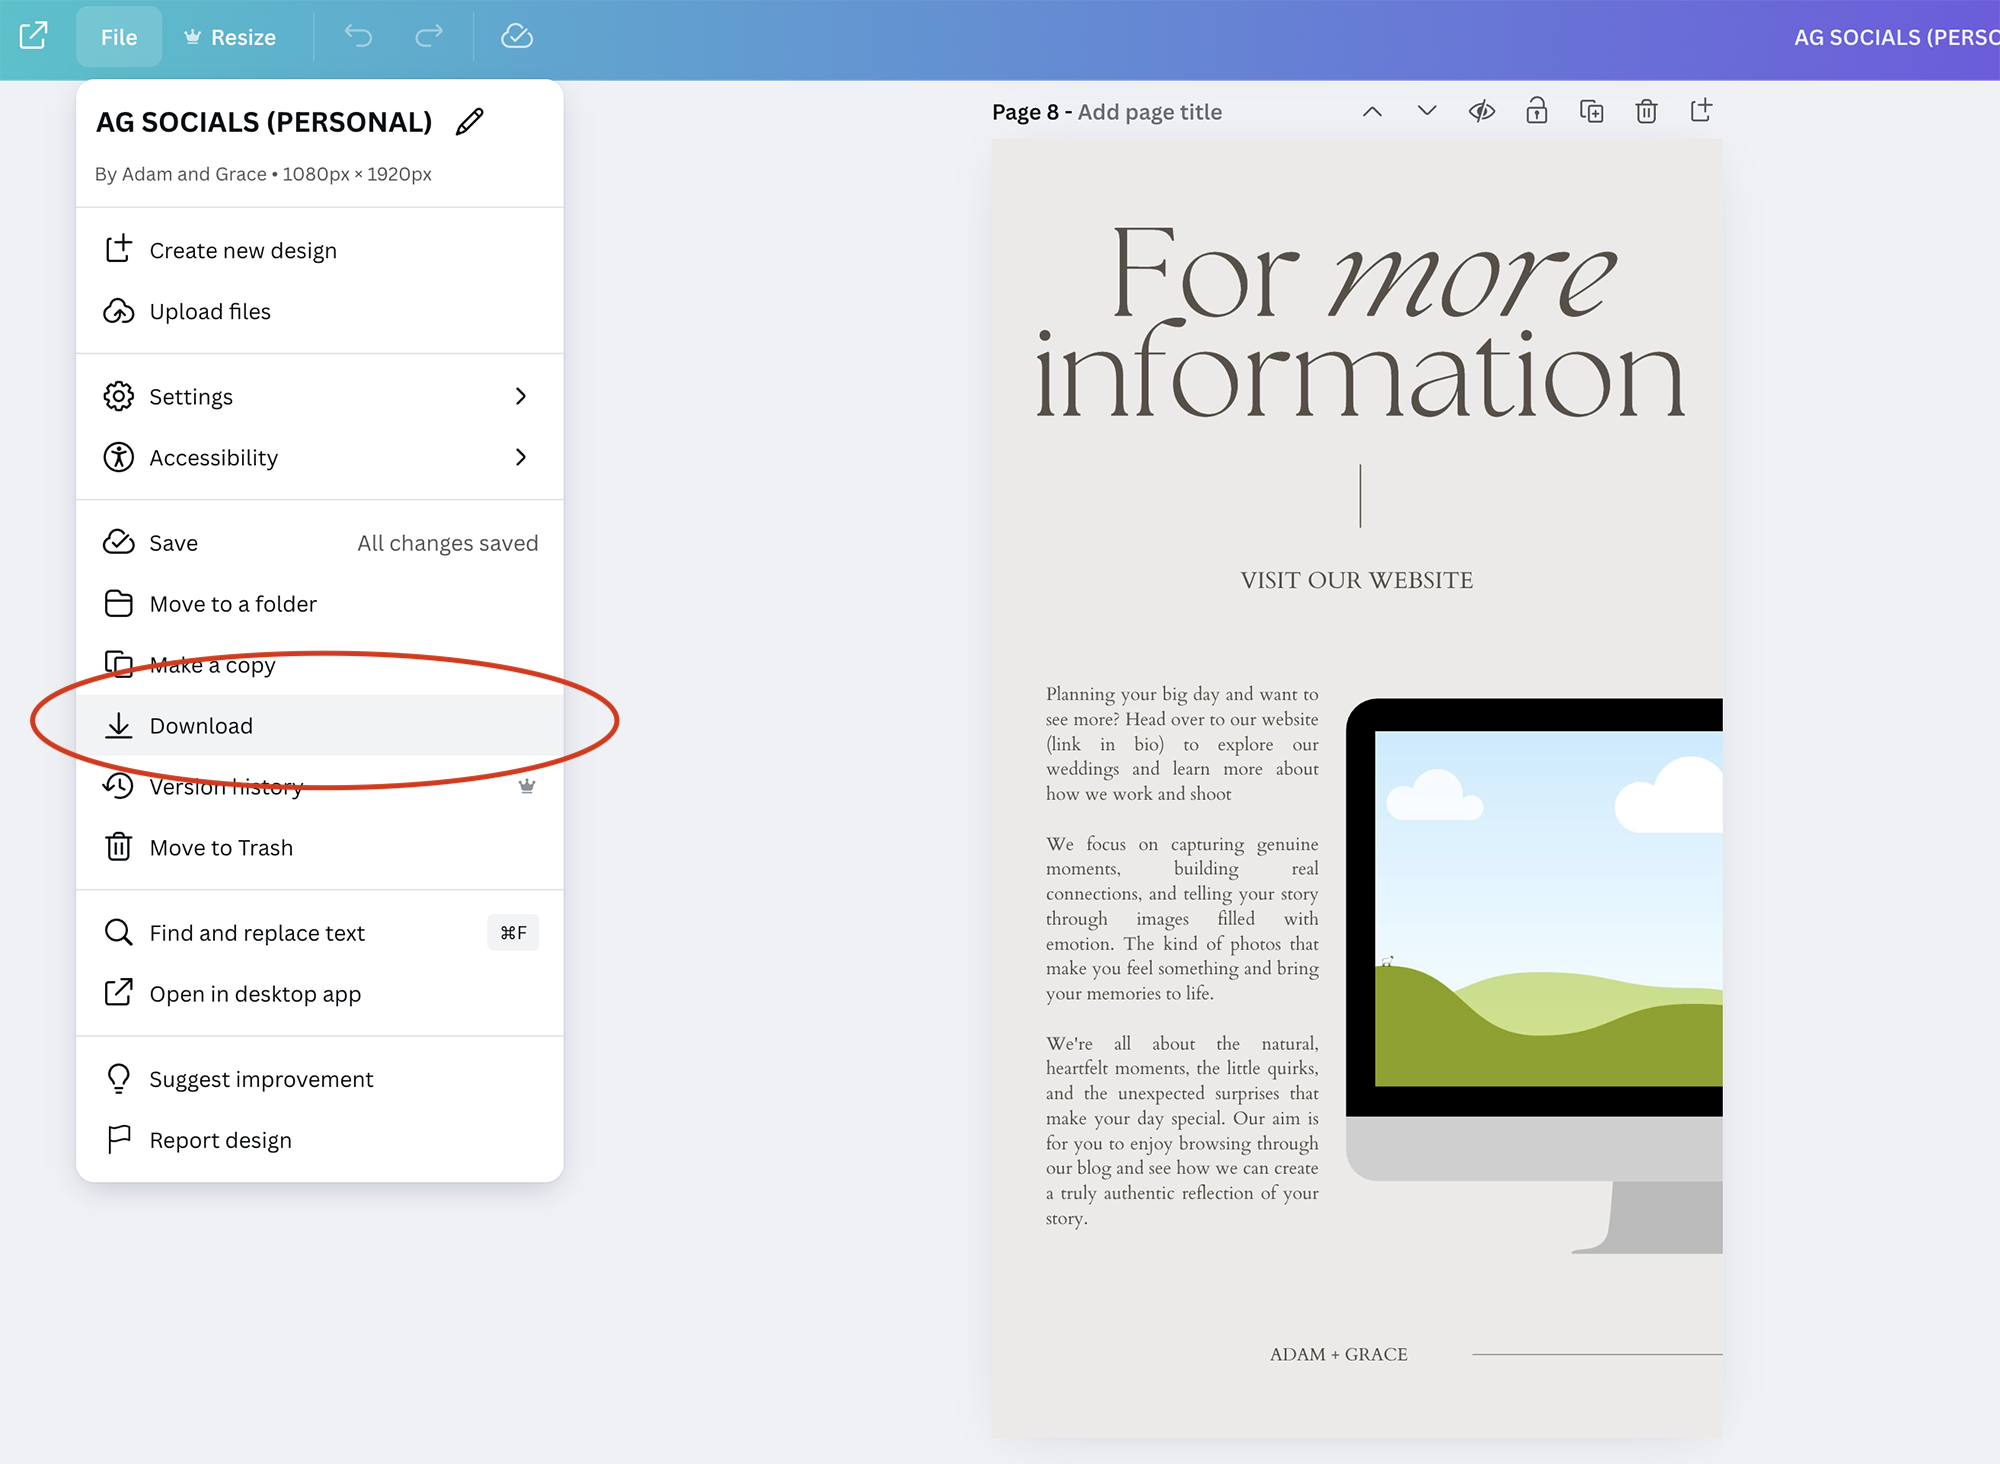
Step 6: Saving, Downloading & Sharing Your Designs
Once your template is fully customised, it’s time to download and use it!
📌 Best File Formats for Exporting:
📥 PNG – Best for Instagram, Facebook & Pinterest posts.
📥 JPEG – Smaller file size, good for website uploads (included on Canva free version)
📥 MP4/GIF – For animated graphics.
📥 PDF – Best for pricing guides, brochures & print documents.
📌 How to Download in Canva:
✅ Click “Share” in the top-right corner.
✅ Select “Download”, choose your file format, and save it to your device.
💡 Pro Tip: If you’re creating social media content, batch-design multiple templates at once and schedule posts ahead of time!
Final Thoughts
Mastering Canva’s essential tools will help you customise any template efficiently—whether it’s for branding, marketing, or social media. By using text tools, brand kits, grids, and alignment features, you can create professional, on-brand designs in minutes with minimal effort.
If you’re looking for more in-depth tutorials on specific types of Canva templates, check out our detailed guides:
📌 Editing Logo Templates in Canva → [Read Here]
📌 How to Customise eBook & Pricing Guide Templates → [Read Here]
📌 Step-by-Step Guide to Using Our Photo Carousel Templates → [Read Here]
📌 How to Edit and Use Social Media Templates Effectively → [Read Here]
💡 Want more design tips, exclusive discounts, and early access to new Canva templates? Sign up for our newsletter to stay updated on new resources, sales, and special offers!
📩 Sign Up for Our Newsletter Here → https://adamandgrace.com/newsletter
For even more resources, explore our full range of Canva template tutorials, design tips, and business branding advice on our blog:
📖 Browse Our Full Blog Here → https://adamandgracephoto.com/category/resources/
🎨 Ready to streamline your workflow? Shop our full range of Canva templates today!
🔗 Shop Now